If your garage has slowly turned into a storage dump of boxes, tools, and things you rarely use, you’re not alone.
Many homeowners today are converting garages into home offices, gyms, workshops, or even rental rooms.
But there’s one major challenge: garages are not designed for comfort. They can get extremely hot in summer and cold in winter.
That’s where a mini split (ductless AC) system can completely transform the space, turning an unused garage into a comfortable, year-round living area.
In this guide, we’ll break down how to choose the right mini split size, installation tips, and the total cost of converting your garage into a conditioned space.
What Is a Conditioned Space?
A conditioned space is any part of your home that is actively heated, cooled, and ventilated to maintain a comfortable indoor temperature. Rooms like your living room, bedroom, and kitchen are all conditioned spaces — they’re designed for year-round comfort.
Most garages, however, are not. They are typically built without proper insulation, ventilation, or temperature control, which makes them uncomfortable in extreme weather.
Adding insulation to the walls, ceiling, and garage door
Sealing air gaps to prevent heat loss, drafts, and humidity
Installing a heating and cooling system (like a mini split)
Ensuring proper ventilation and airflow
Once these upgrades are in place, your garage can become a fully functional and comfortable space — whether you use it as a home office, gym, or guest room — regardless of the weather outside.
Why Choose a Mini Split for Garage Conversion?
When it comes to conditioning a garage, homeowners typically consider three options: extending the existing HVAC system, installing a window AC unit, or going with a ductless mini split. Of these, the mini split is almost always the best choice. Here is why:
1. No Ductwork Required
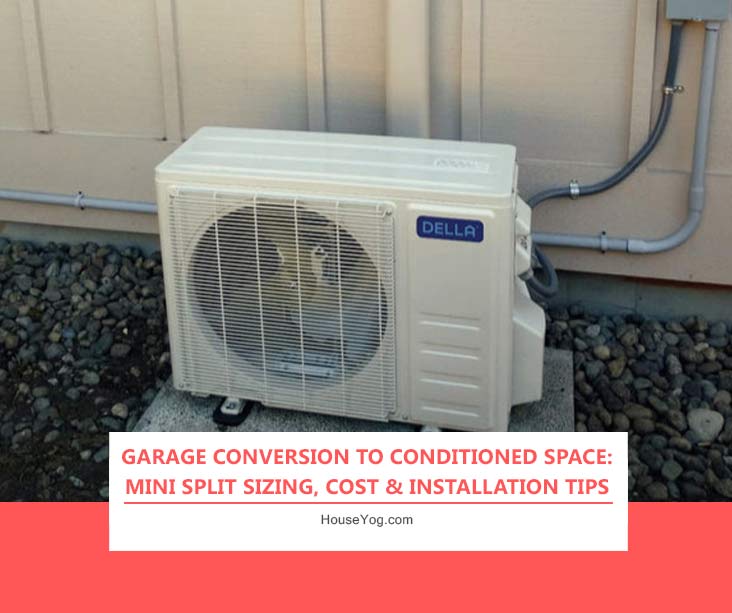
Garages are not connected to your home’s duct system. Extending ducts into a garage is expensive and complicated. A mini split system is ductless; it uses a small pipe to connect an outdoor compressor to an indoor wall unit, making installation much simpler.
2. Heats and Cools in One System
A mini split works as both a heater and an air conditioner. During hot summers, it cools the space. During cold winters, it works as a heat pump to warm the room. You get year-round comfort from one single system.
3. Energy Efficient
Mini splits are known for their energy efficiency. Unlike window units that lose cool air through gaps, or central systems that lose energy through long duct runs, a mini split delivers conditioned air directly into the room with minimal energy loss.
4. Quiet Operation
If you plan to use your garage as an office, gym, or hobby room, noise matters. Mini splits operate very quietly; most indoor units run at around 19 to 24 decibels, which is barely noticeable.
5. Independent Temperature Control
A mini split lets you control the garage temperature separately from the rest of your home. You only cool or heat the garage when you are using it, which saves energy and reduces your electric bill.
In simple terms, a conditioned space is designed for comfort, while an unconditioned space (like a typical garage) is not.
How to Convert Your Garage into a Conditioned Space (Step-by-Step)
Now that you understand what a conditioned space is, let’s look at how to actually convert your garage into one.
The process is not just about installing an AC unit — it involves proper insulation, correct system sizing, and careful installation. Follow these steps to get it right.
Step 1: Insulate Before You Install
Before you even think about installing a mini split, insulation is the most important first step.
A mini split in a poorly insulated garage will:
run continuously
struggle to maintain temperature
increase your electricity bills
Where to Insulate
Focus on these key areas:
Walls: Use batt insulation (fibreglass or mineral wool) between wall studs Recommended: R-13 to R-15 for standard 2×4 walls
Ceiling: The most critical area, since heat rises Recommended: R-30 or higher
Garage Door: Use an insulated door or an insulation kit Look for: R-8 to R-18
Air Sealing: Seal gaps using caulk and weatherstripping around doors, windows, and joints
Pro Tip: Good insulation reduces load on your AC, improves comfort, and saves money long-term.
Step 2: Choose the Right Mini Split Size
Choosing the correct size (capacity) is critical.
Too small → won’t cool or heat effectively
Too large → short cycles, wastes energy, and creates humidity issues
Mini split capacity is measured in BTUs (British Thermal Units).
Mini Split Sizing Guide
Garage Size
Recommended Capacity
Up to 300 sq ft
9,000 BTU
300 – 450 sq ft
12,000 BTU
450 – 600 sq ft
18,000 BTU
600 – 1,000 sq ft
24,000 BTU
Factors That Affect Sizing
Climate: Hot/humid regions require higher capacity
Ceiling Height: Taller ceilings = more volume to cool
System Testing: Leak check, cooling/heating test, drainage check
Final Walkthrough: Instructions on usage and maintenance
Maintaining Your Garage Mini Split
Once your mini split is installed, regular maintenance is key to keeping it efficient, reliable, and long-lasting.
The good news? Most of the maintenance is simple and doesn’t take much time.
Basic Maintenance Checklist
Clean the air filters (every 2–4 weeks): Dirty filters restrict airflow and reduce efficiency. Most filters can be easily removed, washed, and reinstalled.
Check the outdoor unit regularly: Remove leaves, dust, or debris that may block airflow around the compressor.
Inspect the drain line (once a year): A clogged drain can lead to water leakage from the indoor unit. Make sure it’s clean and flowing properly.
Schedule professional servicing (annually): A licensed HVAC technician can inspect refrigerant levels, electrical connections, and overall system performance.
Pro Tip: Regular maintenance not only improves performance but can also extend the lifespan of your mini split by several years.
Final Thoughts
Converting your garage into a conditioned space with a mini split is one of the smartest home improvement upgrades you can make.
It allows you to:
unlock unused space
increase your home’s functionality
create a comfortable, year-round living or working area
Quick Recap:
Insulate your garage properly
Choose the right mini split size
Plan your budget carefully
Hire a qualified professional for installation
When done right, a garage conversion with a mini split system is not just practical — it’s a long-term investment in comfort, efficiency, and property value.
Q1. Do I need to insulate my garage before installing a mini split?
Yes, insulation is essential. Without it, the mini split will run continuously, increase energy bills, and struggle to maintain temperature.
Q2. What size mini split do I need for a 2-car garage?
An 18,000 BTU mini split is usually ideal for a 2-car garage (400–600 sq ft). Larger units (24,000 BTU) may be needed for hot climates, high ceilings, or poor insulation.
Q3. Can I install a mini split in my garage myself?
DIY installation is possible but not recommended. Improper setup can cause leaks, safety issues, and void the warranty. Professional installation is safer and more reliable.
Q4. How much does it cost to install a mini split in a garage?
The total cost typically ranges from $2,000 to $6,000. This includes the unit, installation, and basic electrical work.
Q5. Will a mini split work in an uninsulated garage?
Yes, but it will be inefficient. The system will run continuously, increasing energy costs and reducing lifespan.
Q6. Does a mini split add value to a home?
Yes, it can increase property value. A conditioned garage adds usable space and improves overall functionality.
Q7. How long does a mini split last in a garage?
Typically, 15 to 20 years with proper maintenance. Regular servicing and clean filters help extend its lifespan.
Q8. Do I need a permit to install a mini split in my garage?
In most cases, yes. HVAC installations often require permits, especially when electrical work is involved.